Posts Tagged ‘mountin biking skills’
Hitting the lip – this is the most essential part by miles
November 27th, 2011
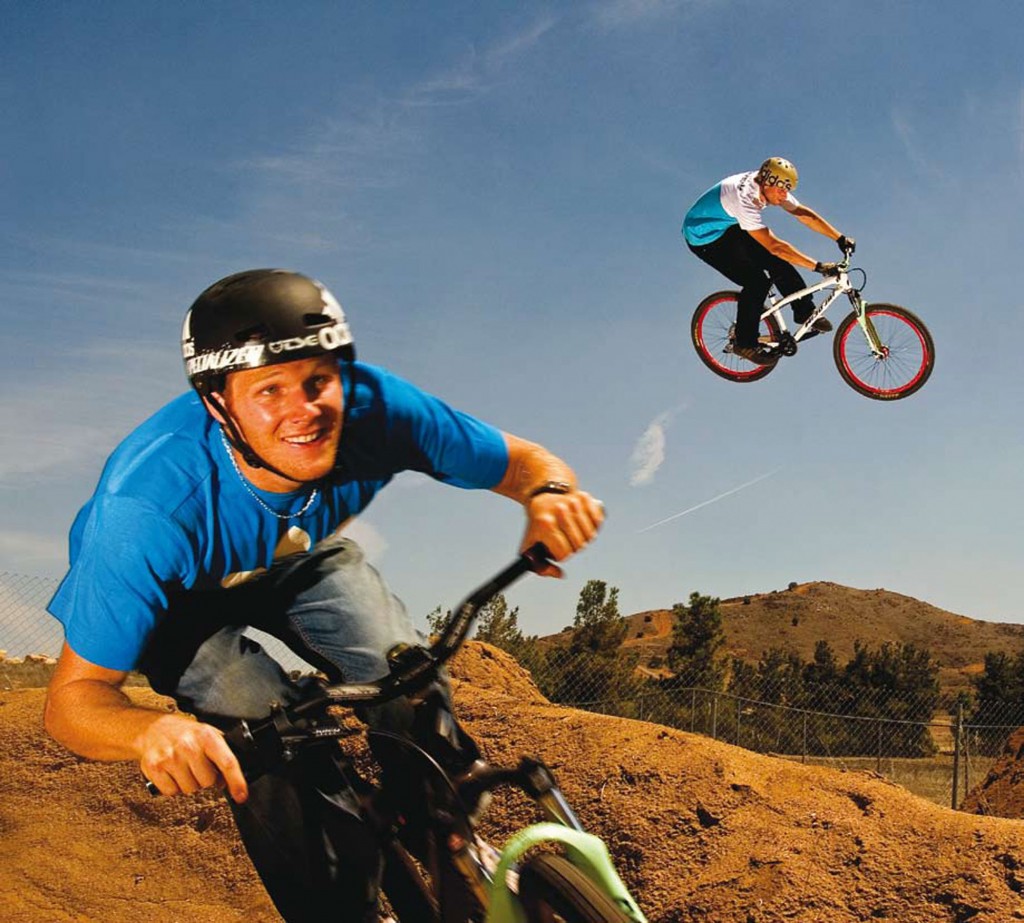
Getting it right while you’re still on the ground will make the airtime part easy. Although you may be thinking about the jump as the take-off and landing, add the few metres before the transition into your thoughts. You need to be planning and setting up a few bike lengths before the lip so that when you get there, everything is done already. One of the hardest things to master is learning the concept that, the less you do, the easier it’ll become.
Stick on your favourite film and watch any top rider; you’ll see that they rarely yank on the bars and spring off the lip like a gazelle having a seizure. Instead, the transition from dirt to air is seamless. The line and arc should begin on the take-off and carry on through the
air and onto the downslope.
On the run-in, spot your take-off point. That should usually be the highest part of the jump. You need to try and make sure both tyres reach this point of the jump before they lift off. Hopping off the transition too early will only cut short your airtime and bring you down heavily with no flow. By keeping an eye on this point, it should be easier for you to gauge your speed and get the timing of all your movements’ right.
THE PUMP
Hand over as much work as you can to the trail. The more you can get from the dirt, the less you need to do yourself. Pump the compression before the jump starts to rise. If you’re coming in fast, you might not have to do too much, but if you’re rolling in slow, exaggerating the pump with your arms and legs will add height and distance to your jump. The pump can also add stability to your riding. The more planted you are on the ground, the more confidence and balance you’ll have so don’t let yourself get all light and off-kilter before you even get to the lip. As with most general trail riding, the bike is better stuck to the ground than it is skipping over the top.
SPEED
The pace you hit the jump at can be tough to gauge to begin with. Start slow and build up on tabletops, where the consequences of coming up short aren’t as severe as a double. The more jumps you hit, the more you’ll understand what’s going to be needed to get you the distance. Technique can also play a part. The more proficiently you pump, the slower you’ll be able to go and still clear the gap. If you can only reach the downslope of a small jump by frantically pedalling at the take-off then something’s amiss. Go back to the basics and refine your flow, balance and pump.
LIFT OFF
Now that you’re approaching with the right speed and you’re solid and in balance, you can start to work more on the take-off. Pumping should have moved you slightly down and forwards to load the bike – like coiling a spring. Now you need to release that pent-up energy by following it up with a gradual move backwards. The lower you move from, the more balance you’ll have so recruit your hips into doing most of the work. Keep in mind that unlike a manual, where you do all the work, most of the effort will come from the physics of that spring, so keep all body movements very subtle.
If you were to roll your bike at the lip without you on it, it would take off on its own so all you have to do is make sure you’re not loading the front wheel. All it’s wanting to do is take off – so just let it. As the 19th century proverb says, less is more.
BACK UP
The rear end needs to mirror what the front has done only hundredths of a second earlier. As the lip is the take-off point, keep your weight off the front until your back wheel has rolled up the transition and is now at the same spot. This can seem difficult, but in actual fact it’s pretty simple. Just like you took your weight off the front by moving backwards, you should now take your mass off the back end by moving forwards again. Too much and you’ll either start a front flip or nose dive into the landing, too little and your rear tyre will stay planted on terra firma. It’s a fine balance, influenced more by your timing than by how much you’re moving. Subtlety is key, so keep the movements minute.
AIRTIME
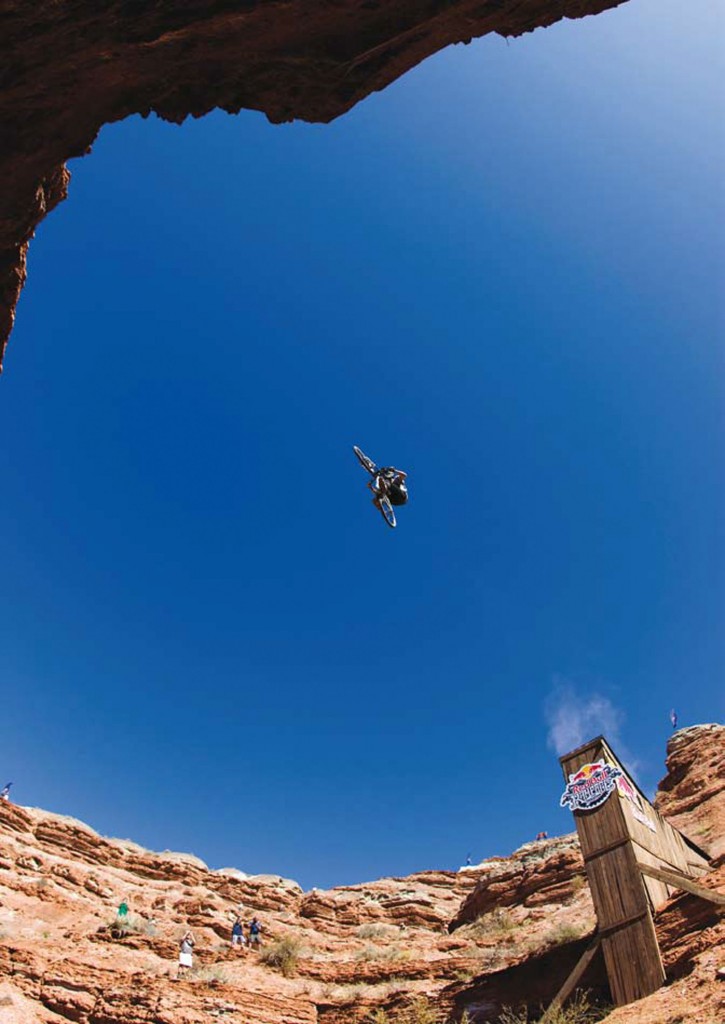
If you’ve done all your jumping using the lip and the trail that precedes it then this part will be effortless – just like in those movies. It’s the hang-time you’re now experiencing where you can spot your landing or start trying tricks. If you feel like you’re holding the bike in the air, chances are you’ve gone for the old faithful yank on the bars and need to re-think your take-off. The pedals you’re using shouldn’t make a difference at this point. With the weight shift back and forwards, the bike wants to take off underneath you and will be following the path you set it on at the start. If the bike is dropping away from you, it’s back to the drawing board and time to re-master your take-off. Don’t take the easy option and fit a set of clipless pedals, they’ll only restrict you later on.
POP
We’re not talking Britney Spears here. The pop you get from the lip is the result of a number of things. As McCaul says, “You might have to bunny-hop more off the lip if you need more height than it’s going to give you.” In this sense, exaggerating the boost you’re going to get from the jump will require you to do a bit more work. It’s not worth trying this until you’ve got mellow, relaxed jumping dialled as the timings and techniques are a little more complex. Initiate the entire movement from the pump and use this compression as the trigger for all your other techniques to follow on from. On the approach get stable and central with your pedals level, push hard into the compression with your whole body weight and as you take off carry out the same moves as before but with extra effort and power.
The bunny-hop can be introduced nearer the lip to squeeze that little extra from the height but make sure you’re still using as much of the transition as possible. Try and let your moves be dictated by the shape of the ground rather than just pulling a monster bunny-hop off the top. It won’t get you that far and will win you zero style points at the same time.
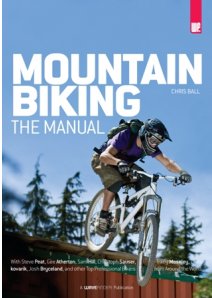
This post was taken from: Mountain Biking The Manual by Chris Ball
How to handle rocks
November 21st, 2011
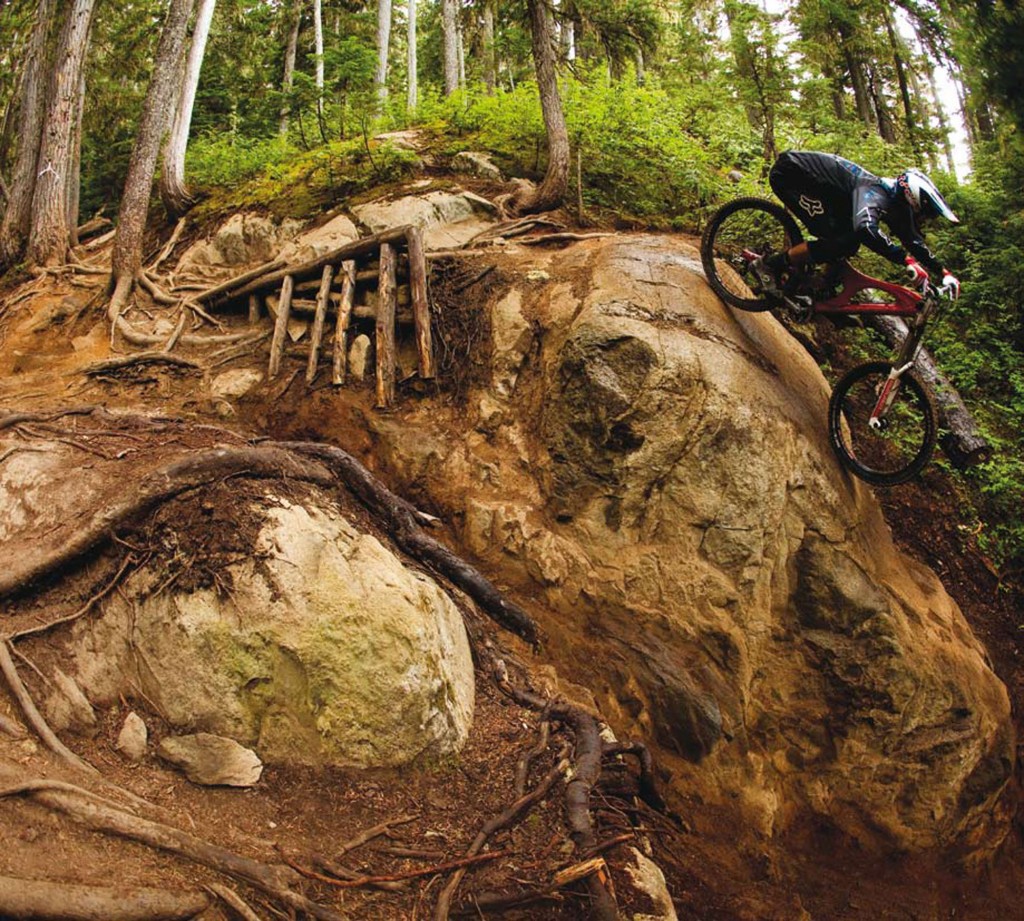
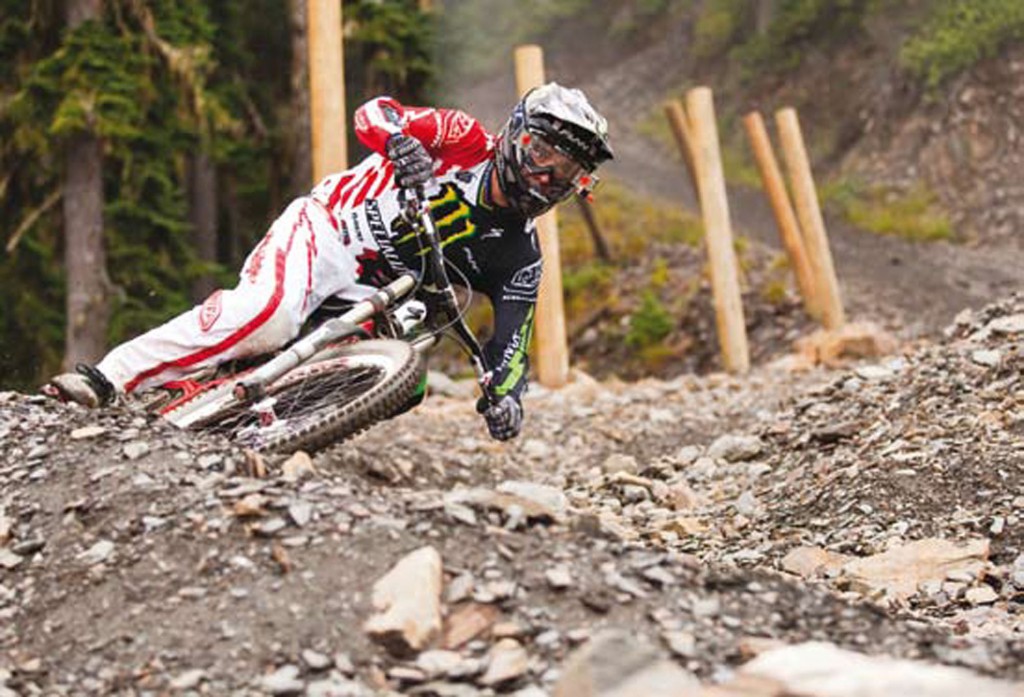
Whether it’s the barren, wind blasted moraines of the high Alps, the huge glacial formations of Canada or the boulder strewn trails at British trail centres, handling rock sections well is essential for success. From sliding down loose scree slopes with fist sized rocks moving underneath your tyres to traversing off camber granite rocks the size of a house, a certain mentality is required.
It takes confidence and calm determination to conquer the section rather than becoming its victim. The rocks will always win in a contest of hardness, so absorption is the way to go. Keep yourself focused on the end goal and let your ego have a small knock once in a while. Better that your mind takes the hits than your head.
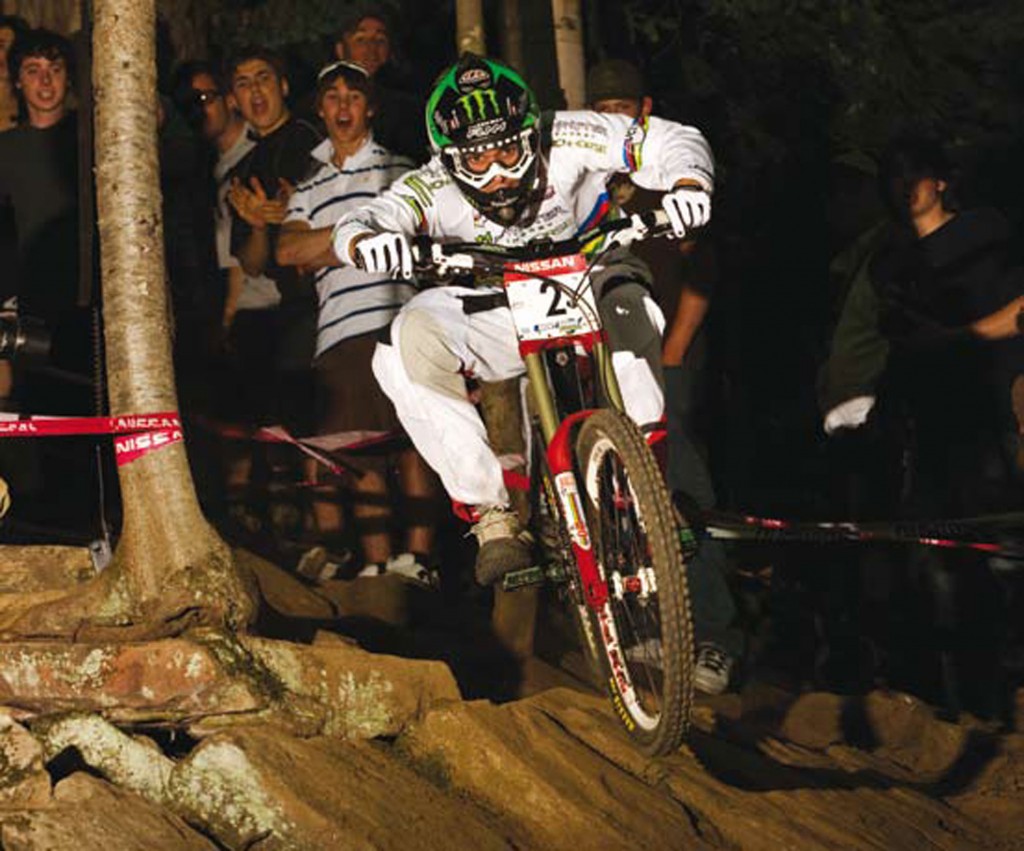
The 2002 UCI Downhill World Cup in Fort William was a moment in time where sheer rider strength and brutality conquered all that lay before them. Chris Kovarik won by 14.02 seconds, one of the biggest margins in modern pro men’s finals history, yet it wasn’t just the gap he won by that was impressive. To go that fast, Kovarik had to take on a course that had been torn apart by the wind and rain all week. He came across mud covered hard Scottish rock on almost every section of the track yet pushed on, took each hit and destroyed the field.
STRENGTH
As one of the more powerful riders, Kovarik puts his strength at the top of the list. “I can make the bike stay on line by holding on and keeping it straight through the rocks”. By staying solid and not getting knocked off his line, Chris can keep it between the tapes and take hit after hit. Although gruelling, it’s this ability to take the rocks on at their own game that gives him the edge he needs to win.
Not only do you need to make your upper body strong enough to keep the bike on track, you also need the endurance to take the endless hits that a rocky run will throw at you. In Kovarik’s opinion, “You need to make your muscles more efficient to hold on well. Get down the gym and develop your core. You don’t just need bulk, you need the efficiency and stability that comes with it”.
BRAKES
How you brake will depend on what the surface is like. If it’s wet and the rocks are slippy, you need to go steady and approach the braking just like you would on a rooty section. As grip only comes when your braking is either light or completely non-existent, go easy on the anchors. No panic braking, and be prepared for a bit of movement under the wheels.
If the slope is steep and rocks are loose you’ll need more bias on the back brake to stop the front end from pushing off the trail. A bit of a rear wheel skid here or there is no problem, in fact sometimes it can really help to control the bike and keep everything on the straight and narrow. Plan your braking for what lies ahead. If you’re cresting at mach 9 into a rock garden you should be thinking of taking some speed off early. Once you hit the rocks, forward momentum and letting the wheels roll will be a huge help.
SET-UP
For a rocky ride, do a few things to set yourself up properly. To prepare for his ride at Fort William Chris Kovarik had this to say. “Suspension set up is super importan. If your bike is set-up too soft you will be falling into all the holes and hanging up on every rock. If it’s too hard you will be bouncing off line and getting beaten up.
You don’t want to be pinch flatting every run in those rocks so pay attention to tyre pressure and experiment with it. With your brake levers, try to adjust them as far in as possible without them crushing your fingers on the bars. Don’t have your braking finger struggling way off by itself. Grip it closer to the bars with the others like a fist. This should give you way better strength to hold on with”.
This post was taken from: Mountain Biking The Manual by Chris Ball
Berms- berms are everywhere
November 9th, 2011
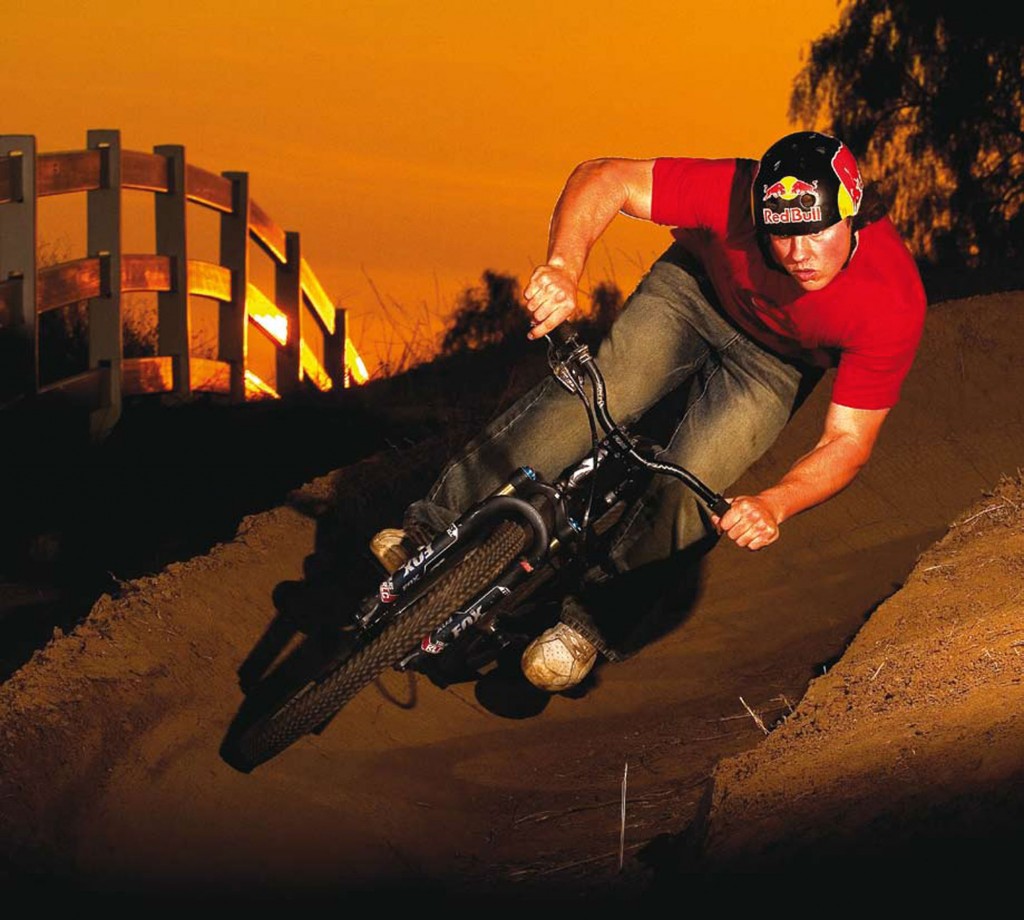
From the manicured perfection of the Beijing Olympic BMX track to the upper slopes of the Fort William UCI World Cup course, the abundance of berms now means that nailing them is an essential skill.
Think of a berm as an old friend. Rarely do they cause you grief; in fact their very presence should mellow you out. Hit them right, and they can add a whole new dimension of flow to your riding.
A well-sculpted berm will allow you to change direction effortlessly and give you a bit of speed too. The flip side is that if you’re unsure of how to ride the
steep sided bank, a berm can look pretty intimidating, as it rears out of the trail ahead.
GO WITH THE FLOW
The best thing to do with a long shallow berm is to let it do the work for you. If the shape is right, the line should feel natural as the gradient holds you in place the full way around the turn. If the berm is big and open enough for you to be able to choose where to go, try and follow the idea that the steeper it is the faster you can go. So, as berms tend to steepen as they rise, a slow pace may mean that you stick to the bottom whereas, flat out, you should be looking to stick to the steeper lip near the top. Even as you hit tighter and steeper berms, you should feel like the dirt is doing all the work.
Aim to make the corner as smooth as possible. If the berm tightens towards the end, adjust your line with it. Likewise if the corner opens up, you should be easing your line out to reflect that. The more consistent your line, the more stability you’ll get and it’ll be easier to start introducing more speed.
BRAKELESS
Brakes and berms don’t really go together. In fact, the very presence of a berm should relax you and make you feel like you can keep your speed rather than having to slow down. To help with your confidence think of a berm as something positive rather than another trail obstruction. This mindset should stand you in good stead to railing the turn with prowess and skill.
The first thing that’ll happen if you pull on the brakes mid-berm is a sudden change of line. As you’re trying to get your tyres perpendicular with the dirt, any braking force will start to pull you upright making the corner a struggle to get around. Like a flat corner, if you do need to scrub some speed, do it on the way in, while everything is still upright and there’s plenty of grip available.
When you get into the berm, look for the exit. There’s not much else you need to be thinking about. The further you can look around the berm, the more you will carry your speed. Once you are comfortable with the idea that the berm is your friend it will all become easier and you’ll be able to relax and think of what to do next. Thinking a few steps ahead of yourself is the way to ride if you want to get really fast.
FRONT LOADER
With the bank there to support you, it’s possible to put more weight on the front wheel than you could on less stable terrain. As you come into the berm, start putting more force through your arms, as if you’re trying to push the front tyre into the dirt. The steeper the bank you’re pushing against, the more weight you should be able to trust the front tyre with. It should all happen nice and slowly. Remember that flow we spoke about. Riding your bike is a combination of lots of different moves happening together so always let the trail, the grip and your feeling dictate how much you’re going to move. Load the front gently and progressively rather than all at once. It’s only once you start riding like this will you truly be able to notice the difference between suspension settings and contrasting tyre treads.
ATTACK, ATTACK, ATTACK
As you get more confident with hitting berms without hitting the brakes, you can start pumping them for speed. It’s incredible how much speed you can get from a berm and just how aggressively you can hit them. Ever seen the images of riders doing a power-wheelie out of a tight berm after hitting them so hard the end of their bar is almost scraping the dirt? Impressive. To begin with, shift your weight forward just like you normally would. However, this time you’re trying to coil a spring and generate inertia that can be unleashed on the exit.
To do this push into the berm harder than before and as you reach the mid-point or where the berm starts to leave you, push the bike away, like
you’re trying to do a strange manual whilst in the turn. If you get the timing right, this quick shift in weight will give you a burst of acceleration that you
will have never had before. It’s one of these things that you’ll know when you get it right.
This post was taken from: Mountain Biking The Manual by Chris Ball
The Wheelie – Can you do a wheelie mister?
October 31st, 2011
Probably the most likely question you’ll be asked by a bunch of kids at the side of the trail. Simply put, this golden oldie is the art of staying in your seat and using the torque of the pedals to lift your front wheel off the ground. It has developed some new names over the years, including my personal favourite, the ‘power assisted lift’. But this move isn’t likely to help your Gran get up the stairs.
Out on the mountain, techniques like the wheelie are rarely used on their own, but toned down, there are certainly some fundamentals that can be used to your advantage. From slow drop-offs to climbing rock steps – the more adept you get at these basics, the easier you’ll find it when you need to pull something special out the bag in a tricky situation.
UPPER BODY
The position of your upper body is the most important aspect to get right if you want to pull a successful wheelie. To begin with, get totally balanced and central on the bike. With your bum in the saddle you need to form a square with your shoulders, handlebars and two almost straight arms: a relaxed bend at the elbow is what you’re after to keep you supple and loose.
Use this square as a reference point throughout the whole move. If you notice that one arm is squint, straighten it up. If your shoulders fall out of line with the handlebars, you’ll never maintain your balance. Aim to get all of this sorted whilst you’re still on the ground. The slightest mistake will be totally exaggerated once you lift the wheel, so don’t lift until you’re set and solid.
The wheelie is a little special: it’s one of the only techniques that predominantly uses your shoulders (and the power from your pedals), but not your arms. Your arms are only needed to hold your body in position. It may sound strange that you can lift the front wheel without using them but it’s something you’ll have to get your head around. Remain seated, lean backwards, keep your head up and those arms straight – and stay totally relaxed. If you notice your forearms are tense and you’re only keeping the front wheel up by pulling on the bars, start all over again.
TORQUE
The wheelie is a weight shift that uses the power produced at the pedals to provide the lift you need. This’ll be where the name ‘power assisted lift’ came from. Timing is of the essence: as you lean back, apply pressure to your lead pedal. Choose a gear that’s easy to turn without too much grunt yet gives you enough resistance to produce some power. As the wheelie tends to be a lowspeed move, it’s likely your gear will be middle or small ring and near to the top at the back.
RESCUE BRAKE
Your rear brake is your escape route, your Get Out Of Jail Free card. The moment your front wheel rises too high, a quick but gentle pull on the rear brake lever will bring the front wheel back down to earth. If you are going for the wheelie world distance record, modulating the rear brake will help you to control the speed of the manual and keep it going for longer. Remember not to grab a handful. Just a gentle feathering of the brake should be enough to help you out.
WHERE TO DISH IT OUT
With wheelies mastered, you can now use them out on the trail. On a technical climb, if you’re faced with a ledge or a lip, use this method of lifting the front wheel to get you up and over the step without losing balance or grip. You can also use it to get the front wheel over a steep sided rut or ditch, or to come off a drop-off at a really slow pace by lofting the front wheel using some of the power from your pedals. Whatever the situation, if you spend a little bit of time getting your balance on a flat surface, you’ll be able to adapt the technique to suit the situation.
This post was taken from: Mountain Biking The Manual by Chris Ball
